Visit the WordPress Tutorial on How to Setup and Modify Menus.
Modifying your Menus
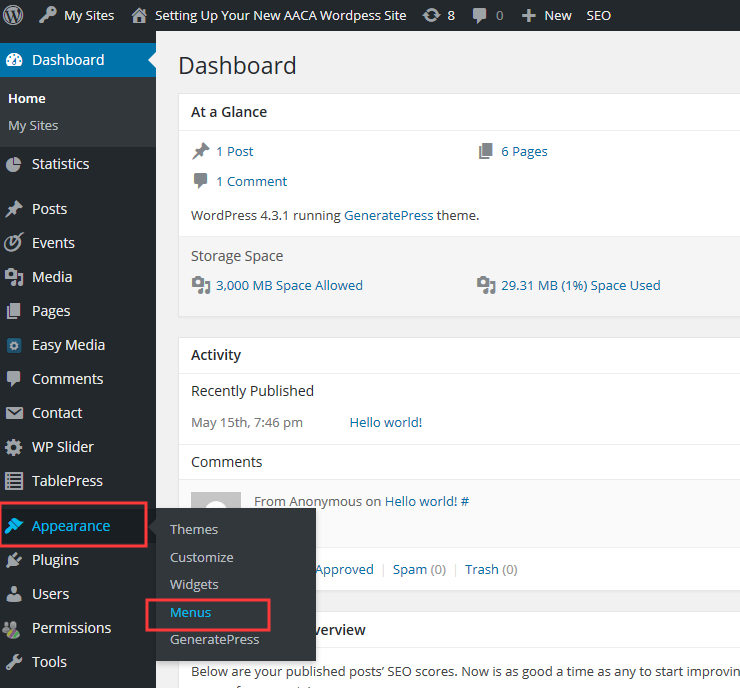
- Hover over the Appearance tab on the Dashboard and click the Menus button
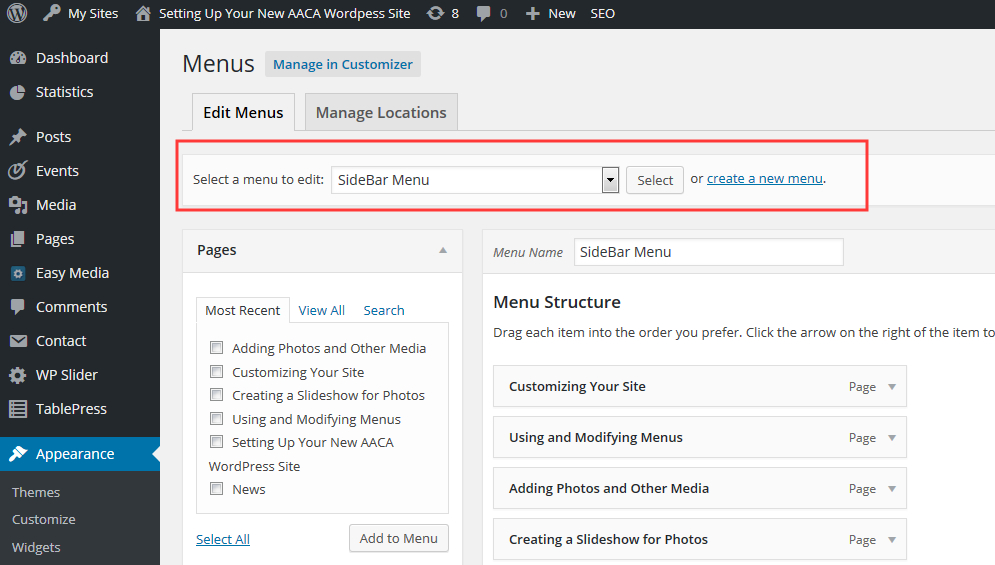
- Select the menu you want to modify
- The Pages section of this window is where you find items/pages to add to your menu. You can add recent pages, search your pages, or view all of your pages
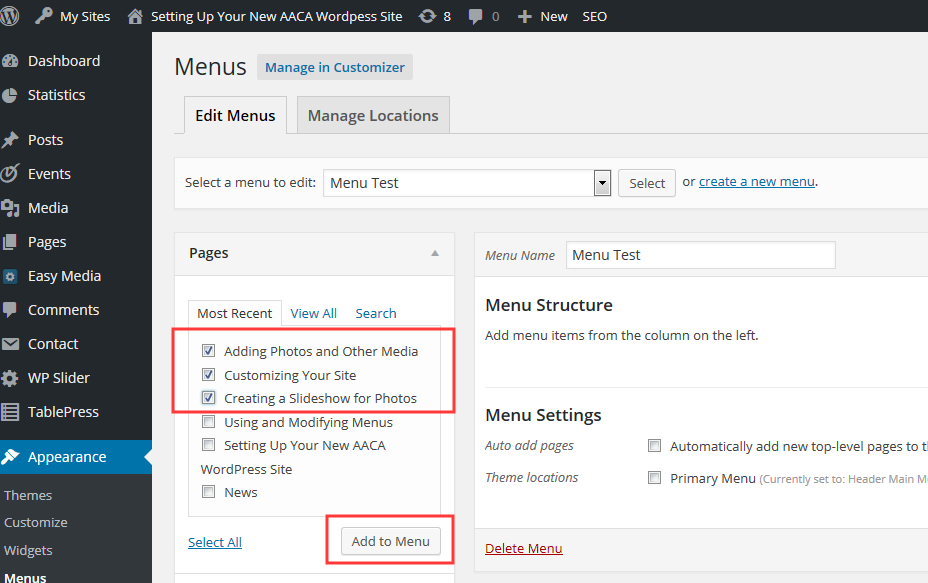
- Select the pages from the menu on the left to add to your menu and click Add to Menu to add them
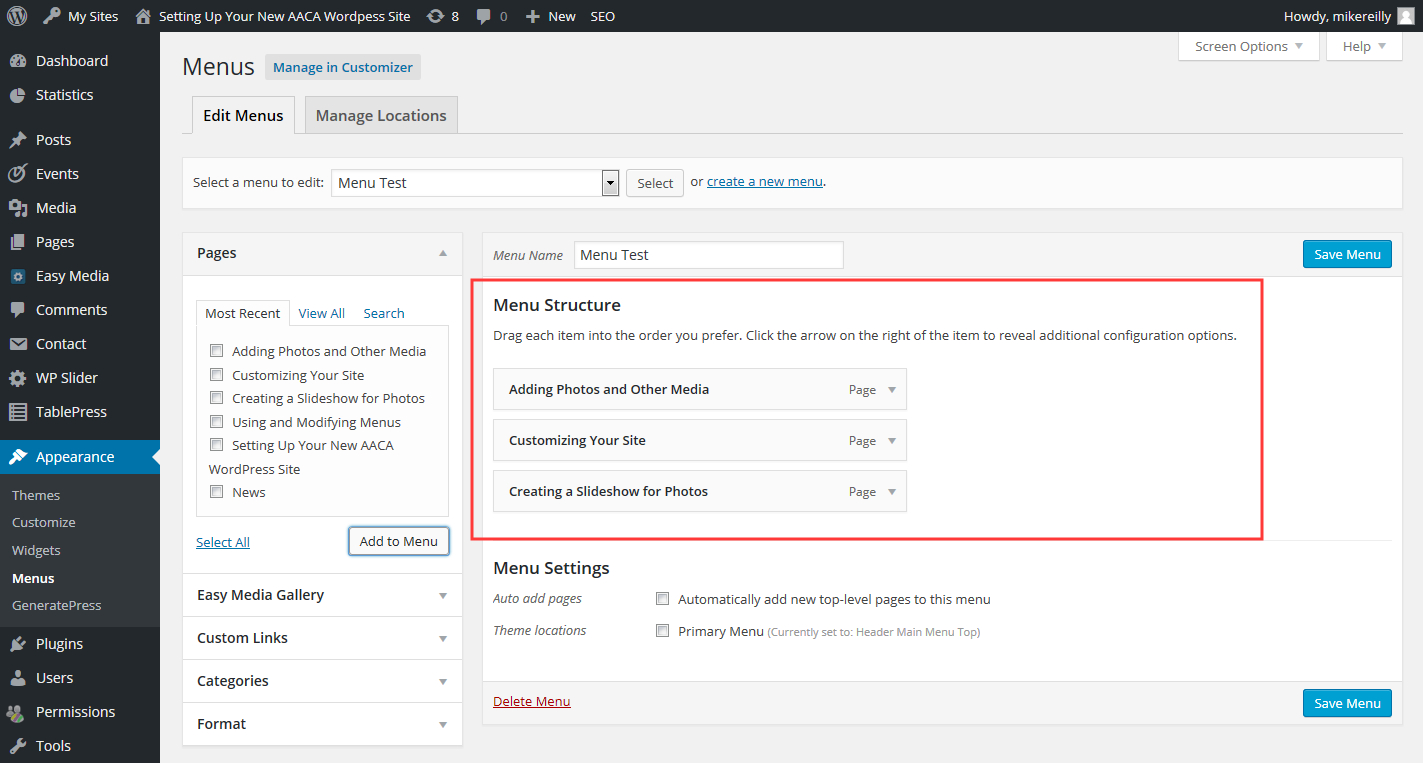
- These pages will be added to the menu structure
- Click Save Menu when making changes
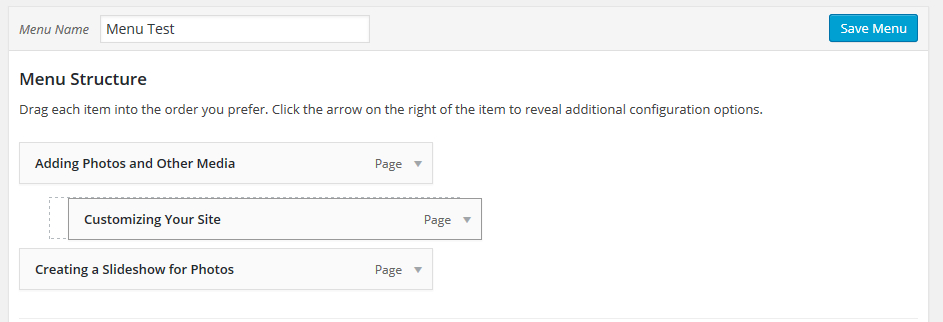
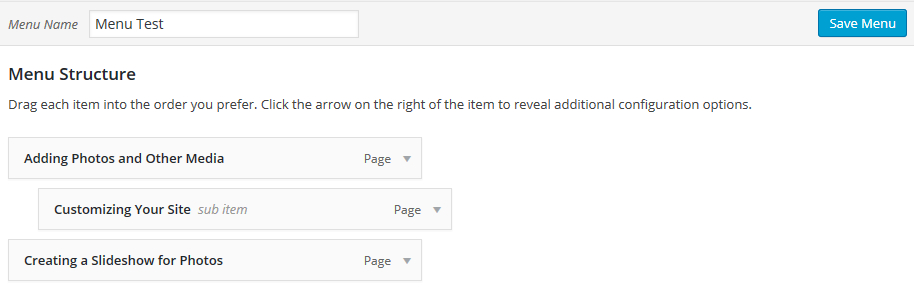
Nesting Menu Items – Creating Sub-Menus
- Go to the menu page on the dashboard and select the menu you wish to modify
- Click and hold the mouse button down and drag the item to the right, underneath the menu item you wish to nest the item under
- This will offset the menu item and will create a sub-menu that will open when the menu is hovered over by the mouse on the website.
- Click Save Menu when making changes
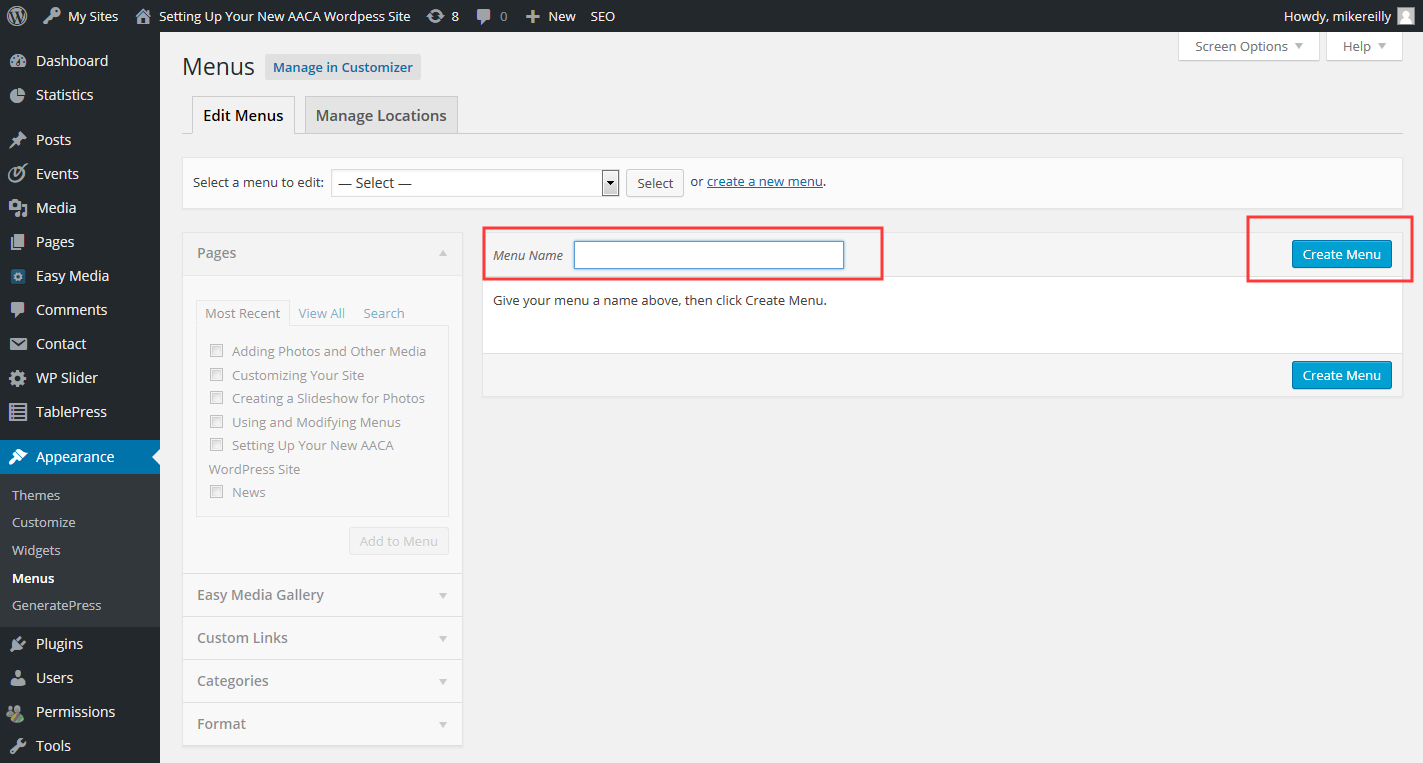
Creating a Menu
- Hover over the Appearance tab on the Dashboard and click the Menus button
- Click Create a New Menu
- Type in a Name for the Menu and click Create Menu
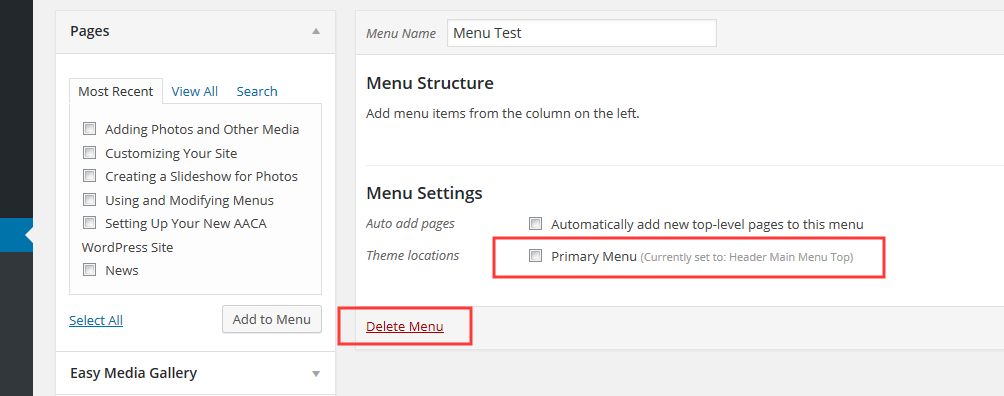
- Edit your Menu with the parameters you want to use (See above)
- You can set this new menu as your Primary Menu by clicking the set as Primary Menu button. You can also delete the menu on this page if you do not want to use the menu anymore.